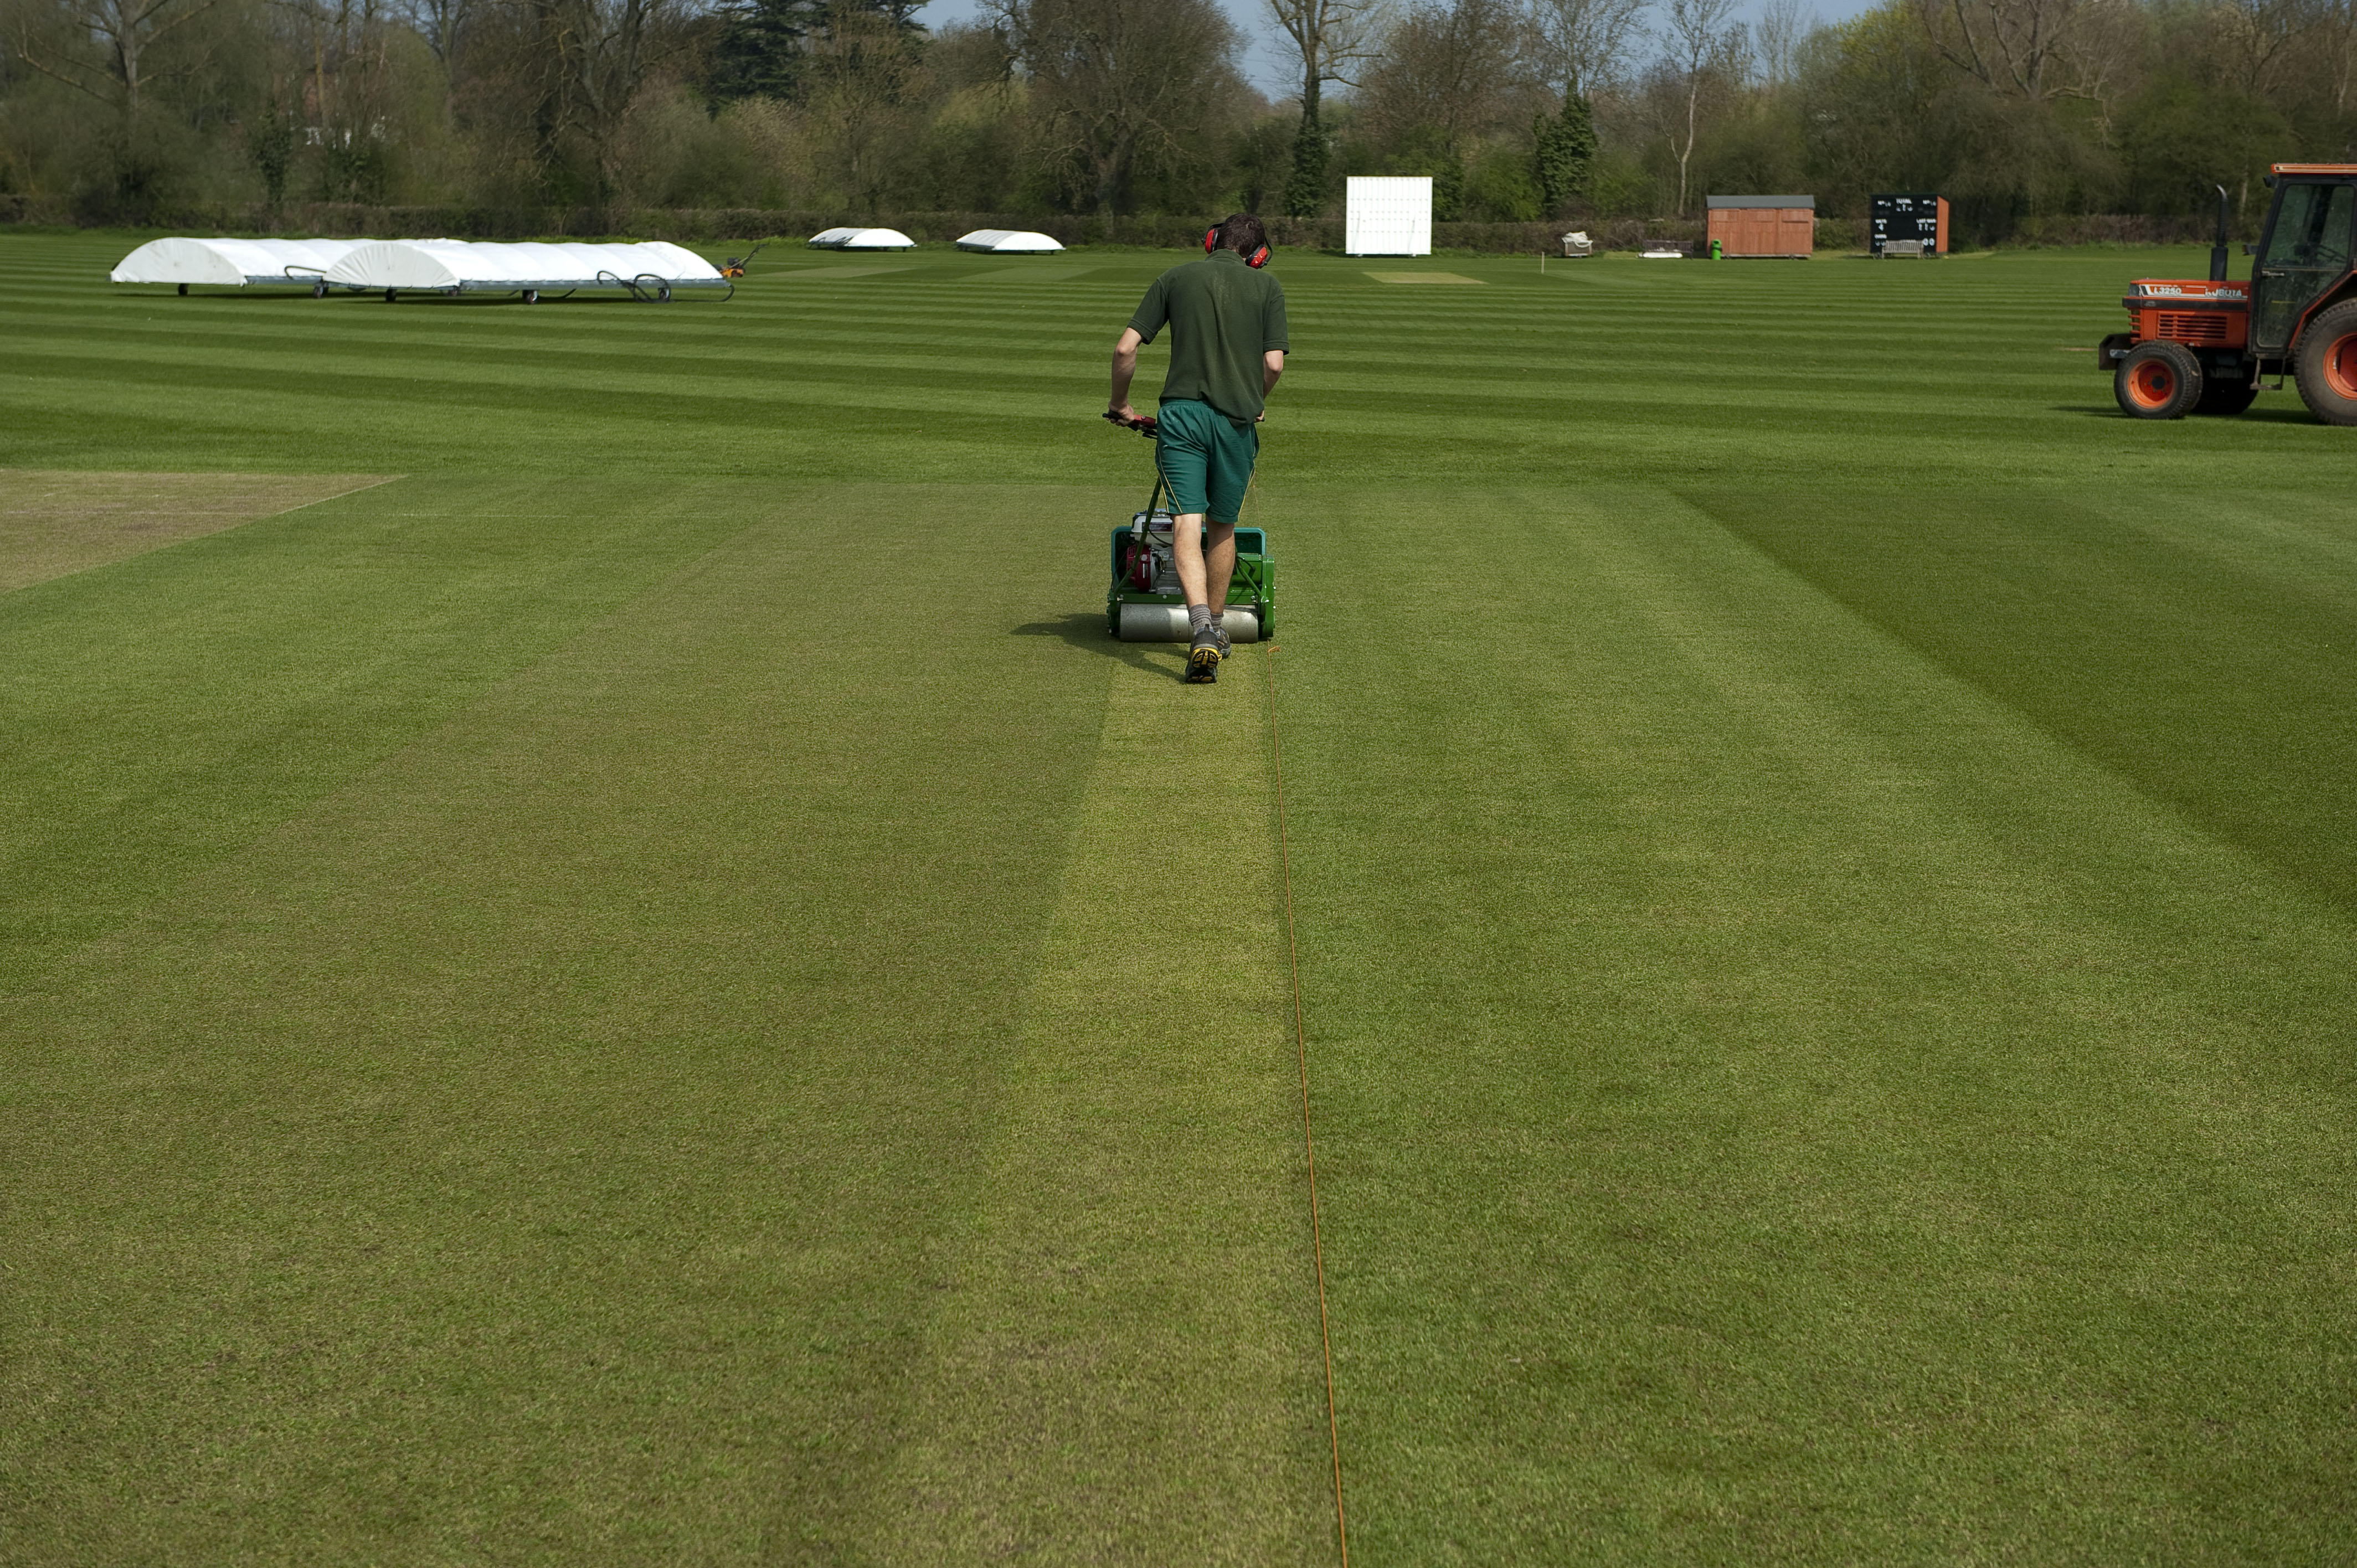
Firstly, decide on your initial cutting height and set the pitch mower accordingly. You should cut the pitch with a mower of no more than 22” width of cut and ideally with eight or more blades, capable of delivering a high clip frequency in excess of 150 cuts per metre.
For details on setting mowers and pre-start checks, see our video here.
Pre and Post Equipment Use Check | Grounds Management Toolkit (thegma.org.uk)
Setting Up Equipment | Grounds Management Toolkit (thegma.org.uk)
Avoid cutting to your finished pitch height straight away because removing too much leaf too early in the process will make it difficult to dry the pitch to depth, and if you cut too short too soon, your pitch will start to green-up before you use it as the plant adapts to closer mowing, this could result in extra seam movement.
Initial cuts should be slightly shorter than the square so you can define your pitch.
Establish the edges of the pitch to be mown, 3.05m (10ft) apart, and cut along the edge of the pitch, returning on the same line you have just cut. (String lines are invaluable if you haven’t perfected the technique of mowing laser straight, and if installed low enough may be left in until the pitch is ready – but don’t leave in during play or practice on the square).
Note that in England and Wales, the ECB recommends different pitch lengths (not widths or crease markings) for some junior age groups - for more information see the ECB Guide to Junior Pitch lengths.
The pitch should at least be cut from bowling crease (stump line) to bowling crease (stump line), although it is common to extend the cut area to encompass the length of the return creases or beyond. Do not extend into the outfield as this will decrease wear resistance.


 Tweet
Tweet